


Fixing and Mounting Options: How Bsign Signs Are Installed
How Are Bsign Signs Mounted?
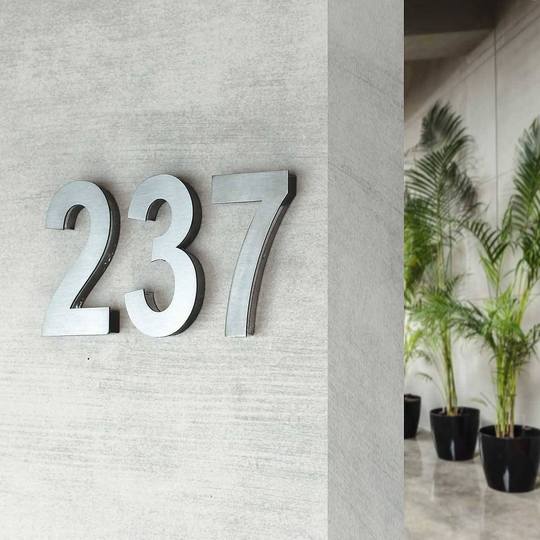
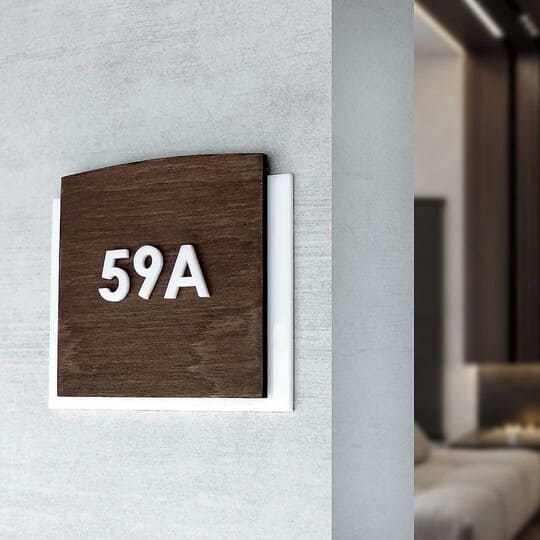
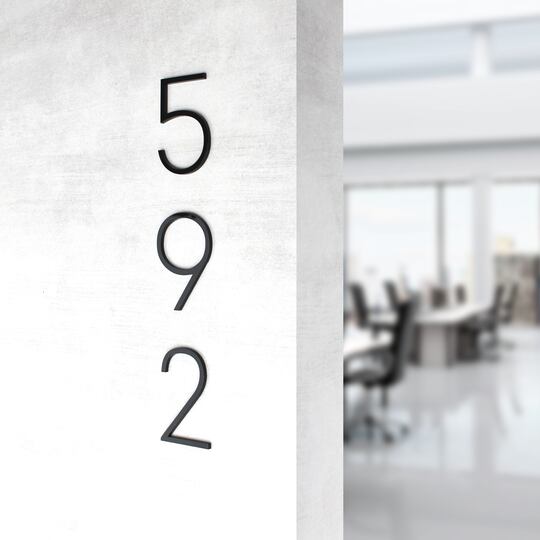
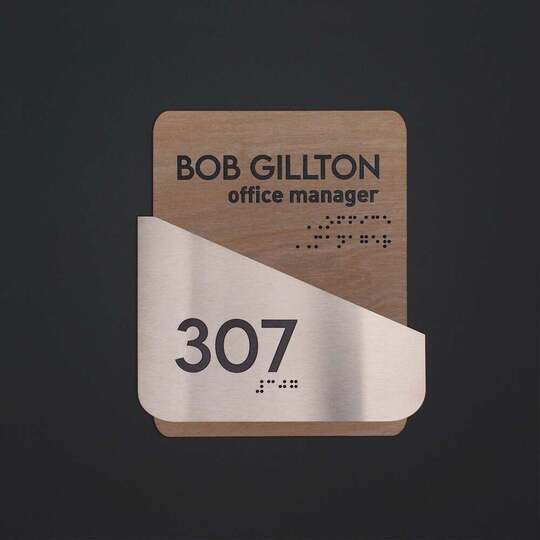
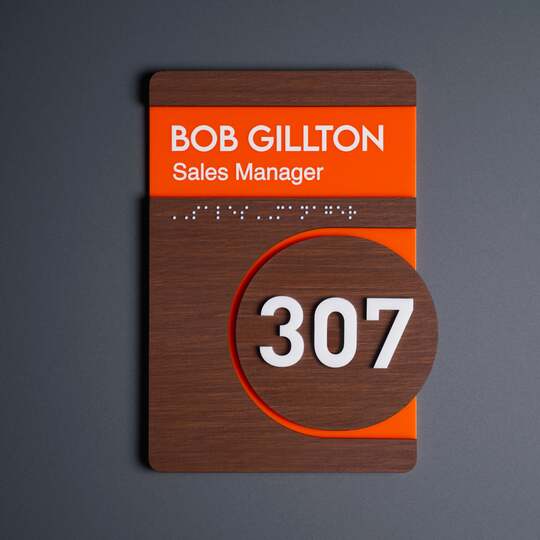
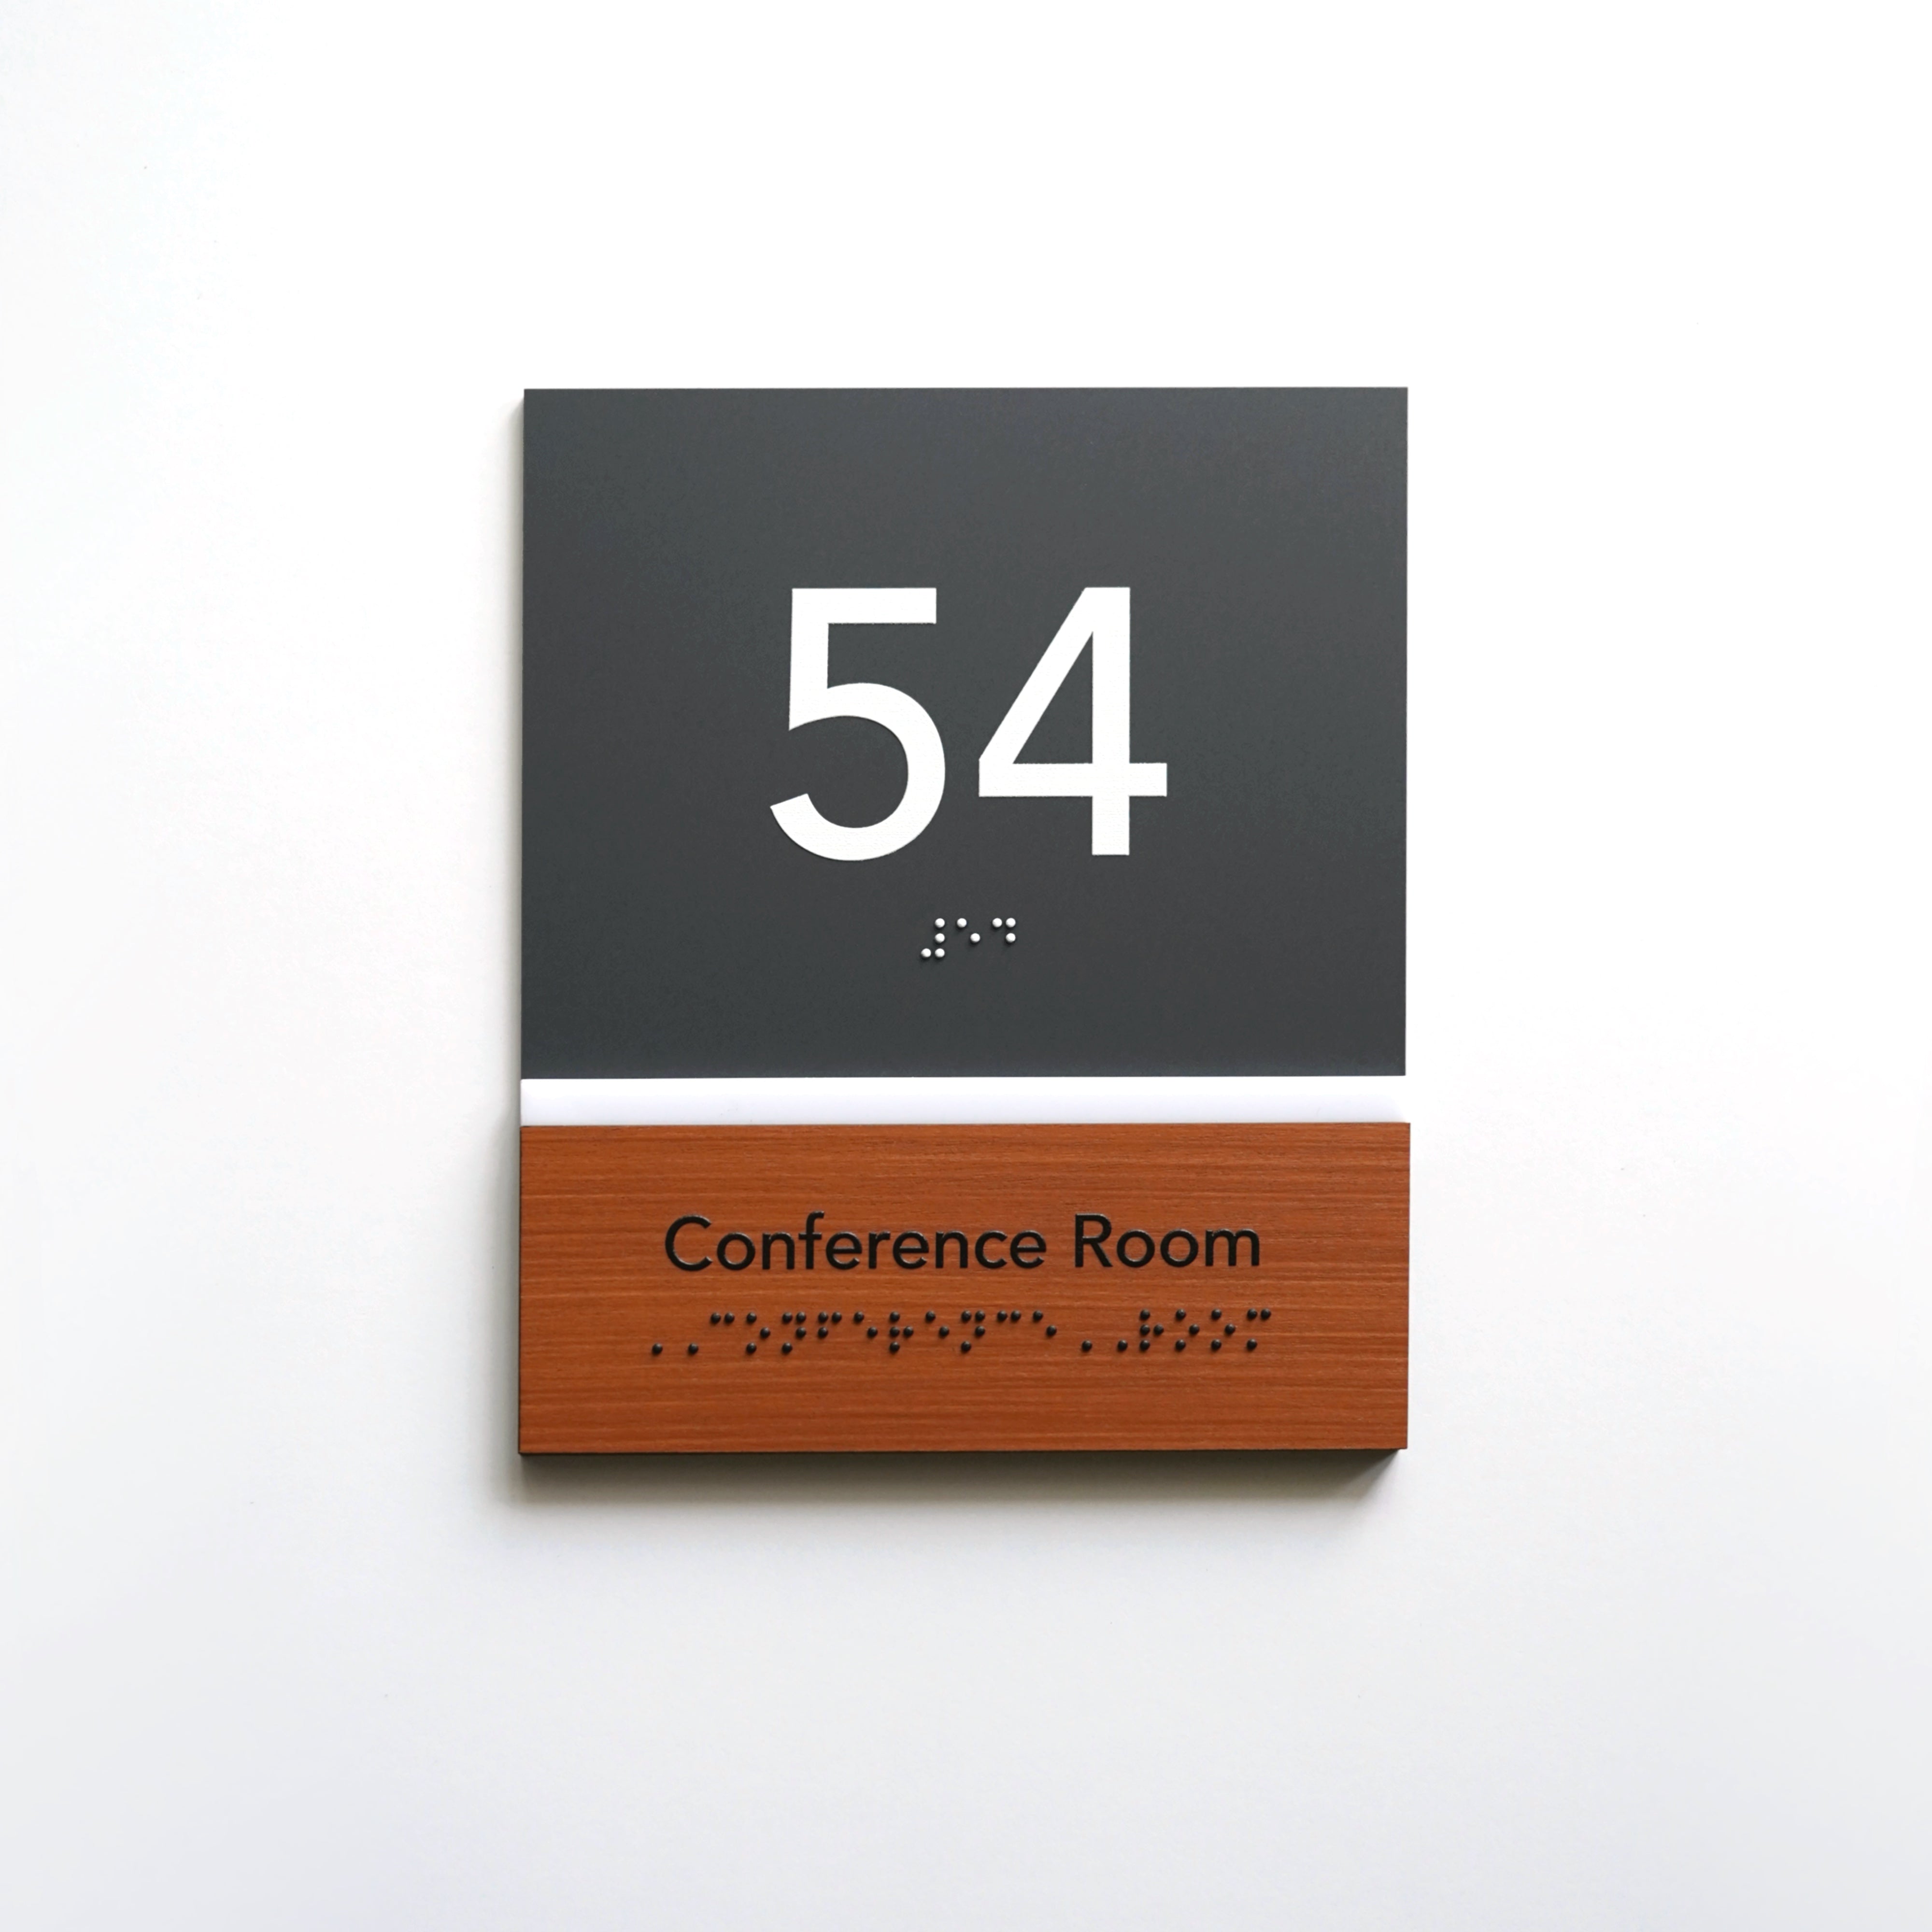
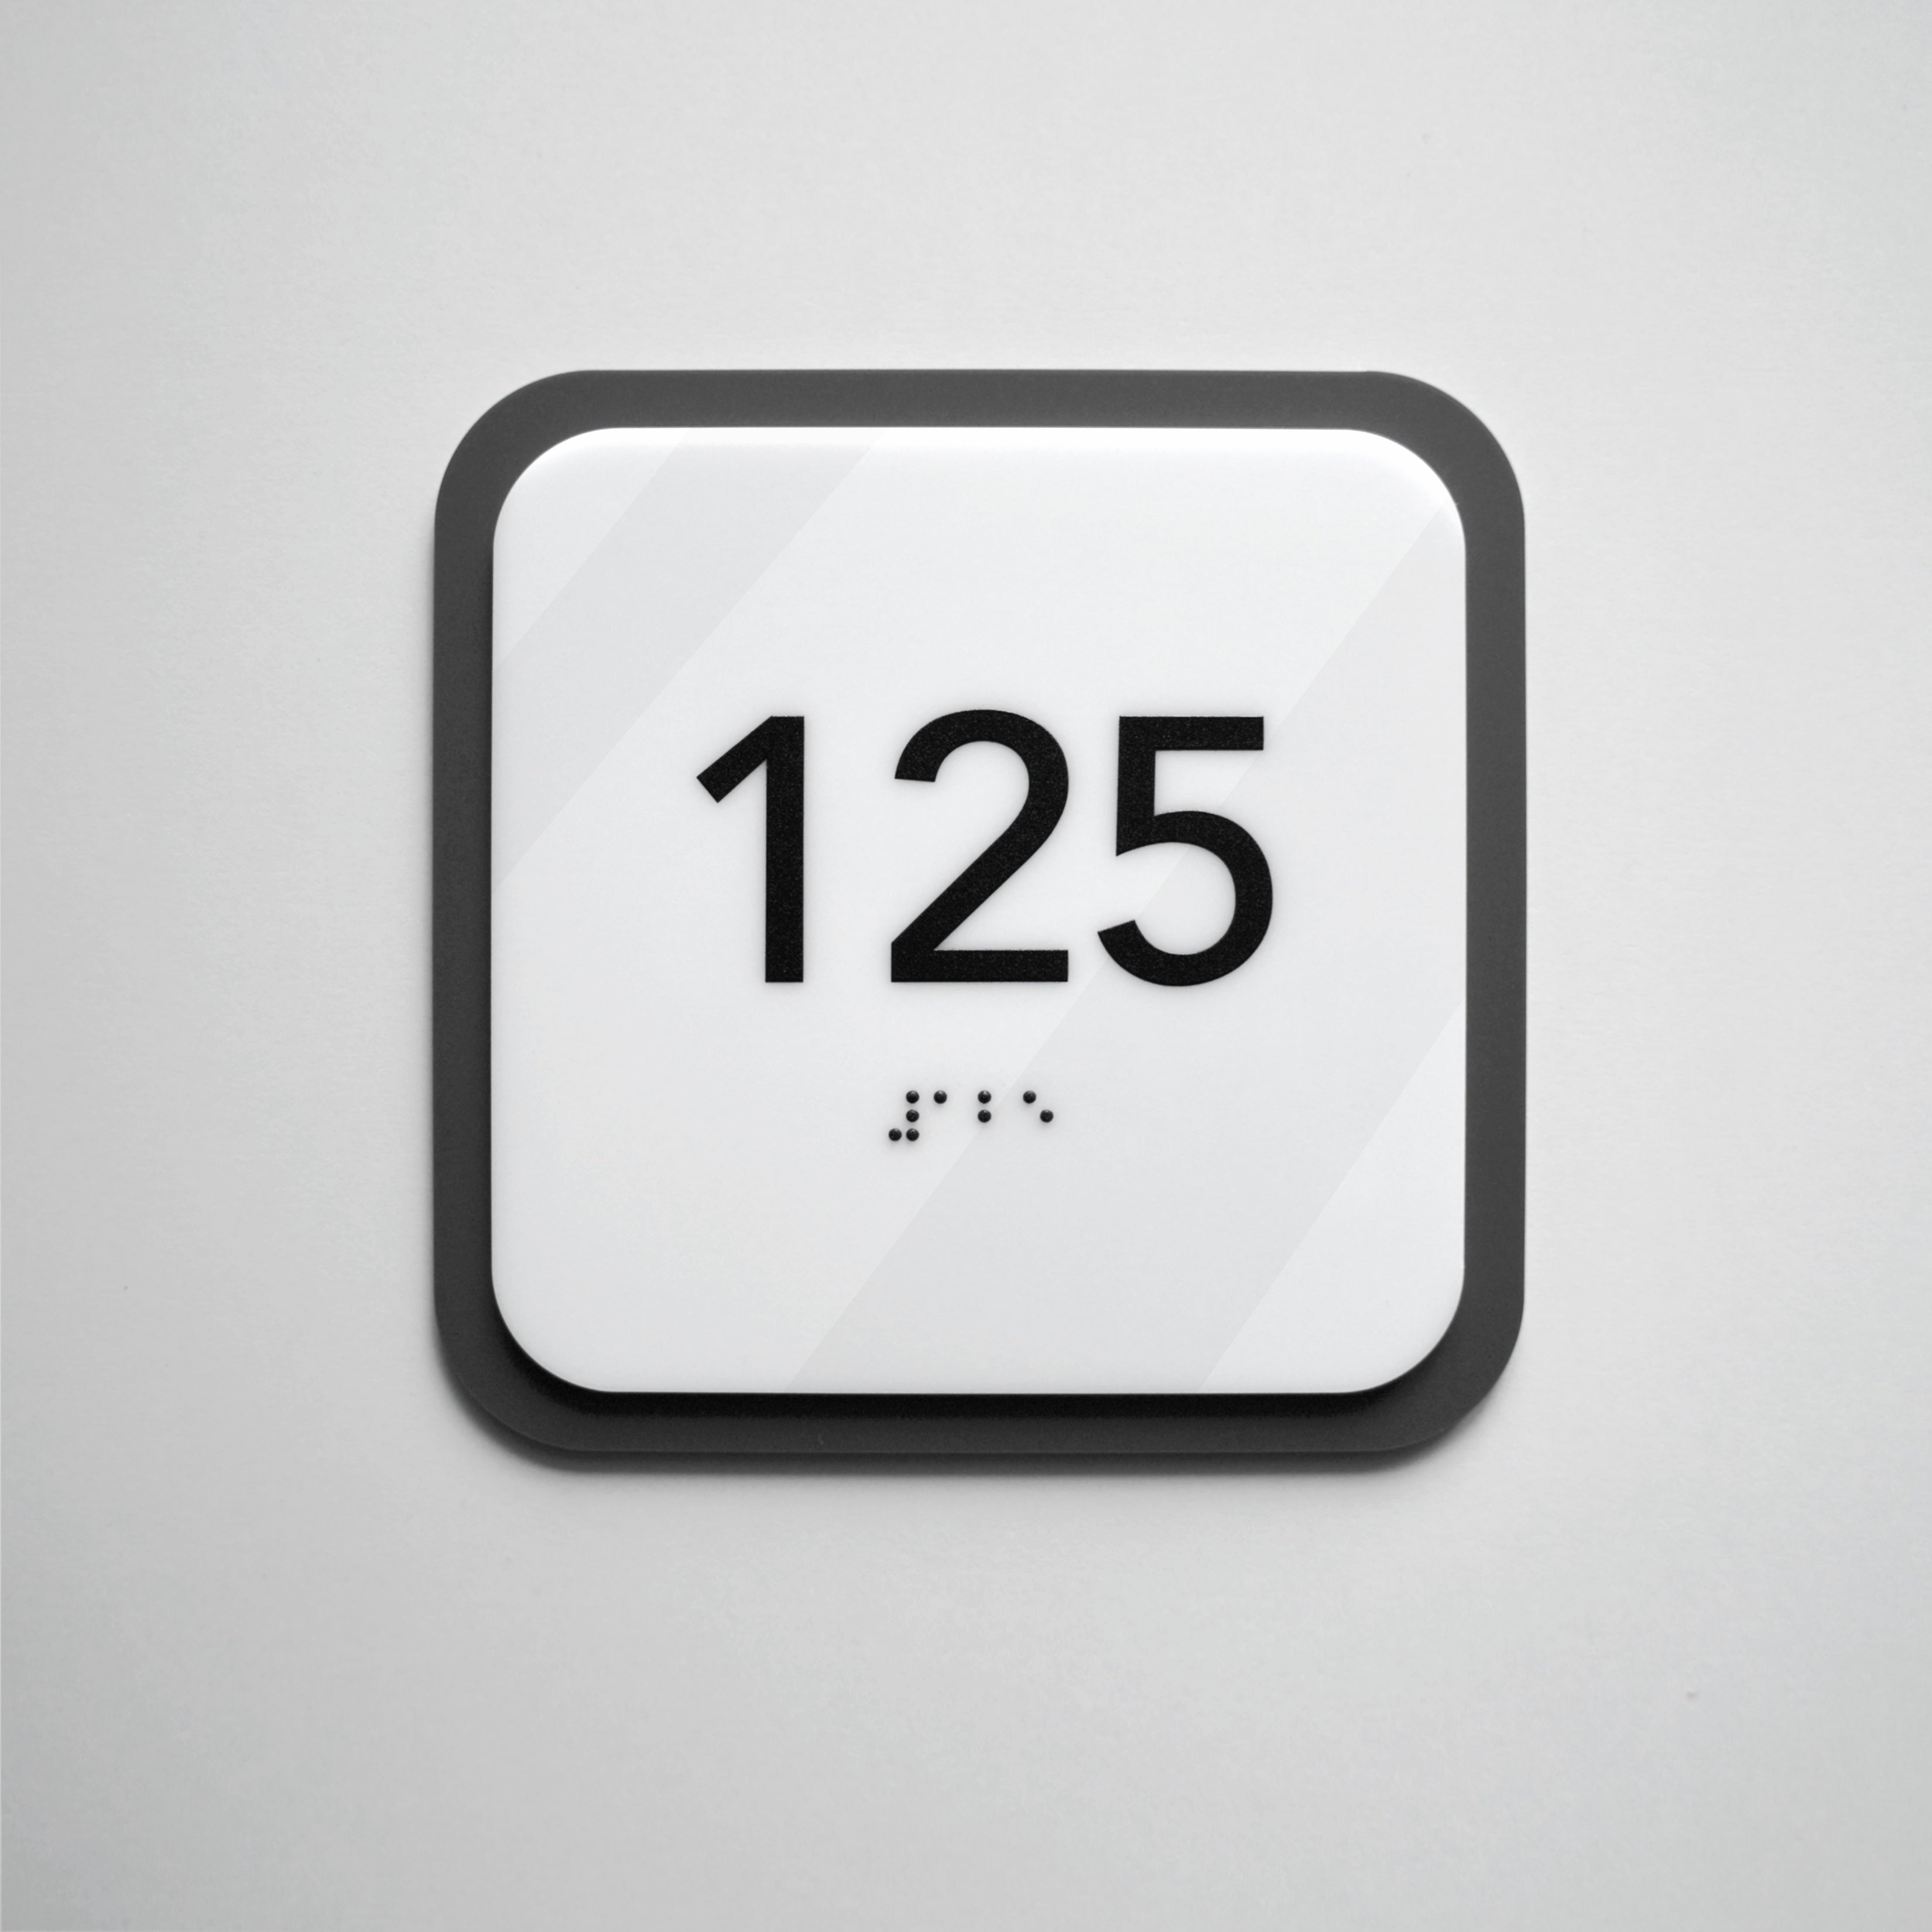
Most Bsign signs are designed for simple, DIY-friendly installation. Depending on the sign design, material, size, and installation surface, your sign will usually come with one of two standard mounting options: strong double-sided adhesive tape or metal standoff screws. Some projects may also require a paper mounting template, especially when the sign includes separate letters, numbers, or multiple elements that must be aligned precisely.
Bsign’s internal installation guidance confirms that signs are typically mounted with either 3M VHB double-sided tape or metal standoff screws, and that tape is recommended for smooth indoor surfaces while standoffs are better for textured, uneven, or outdoor surfaces.
Double-Sided Tape Mounting
Double-sided tape is the most common and convenient mounting method for many Bsign signs. It is usually applied to the back of the sign before shipping, so installation is simple: clean the surface, position the sign carefully, remove the protective layer from the tape, and press the sign firmly into place.
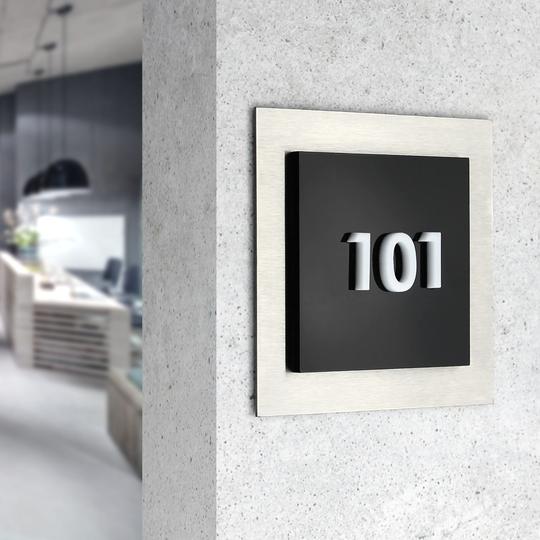
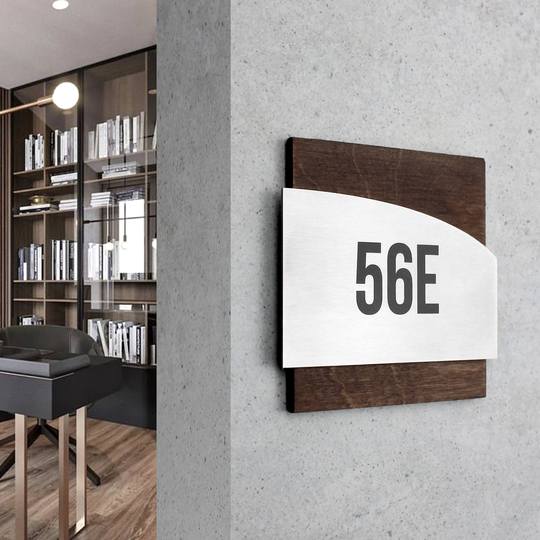
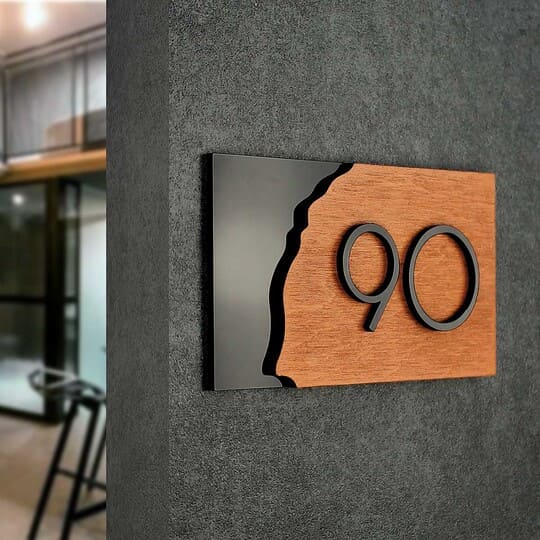
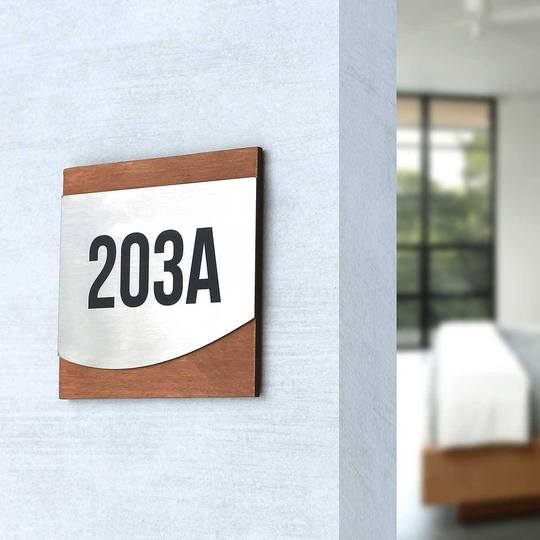
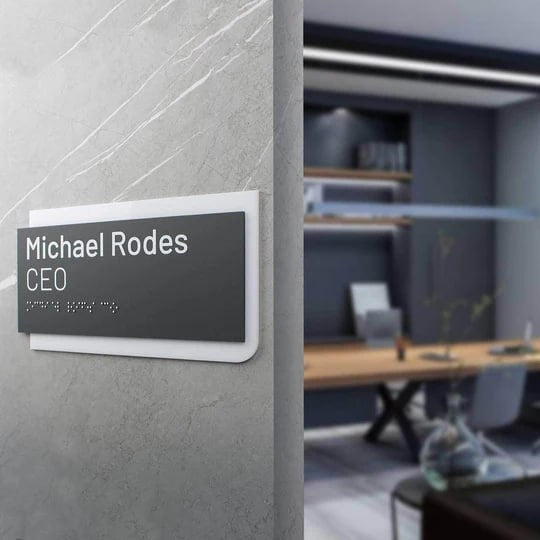
This option is ideal for smooth, flat indoor surfaces such as painted walls, wooden doors, metal doors, glass, tiles, plastic, or varnished panels. It is a good choice when you want a clean look without visible screws or metal holders. Adhesive mounting is also useful for office doors, hotel room numbers, restroom signs, apartment numbers, and many indoor information signs.
The tape creates a strong bond, but it needs the right surface conditions. The surface should be clean, dry, dust-free, and not greasy. After installation, the adhesive reaches its full bonding strength after approximately 24 hours. During this time, it is best not to pull, move, or test the sign unnecessarily.
Tape mounting is semi-permanent. The sign can usually be removed later, but removal may require careful warming, slow peeling, and cleaning of adhesive residue. If you want to reinstall the sign in another place, you will normally need to apply new adhesive strips.
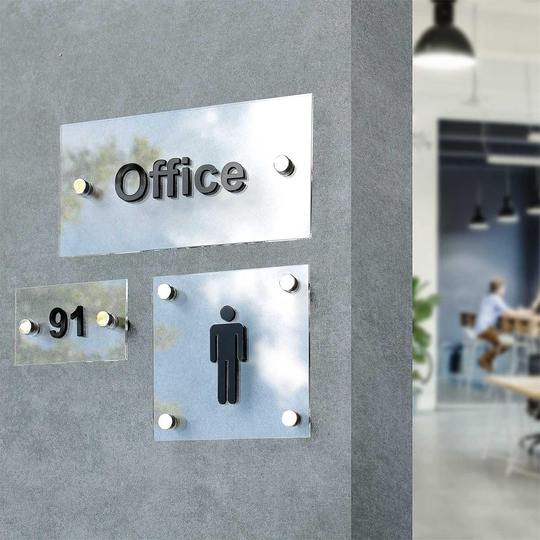
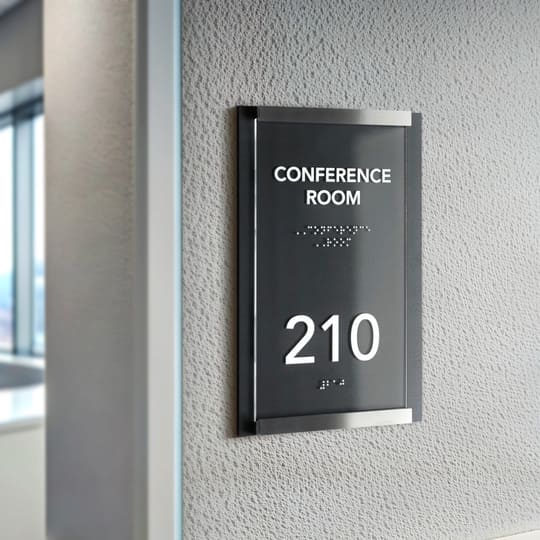
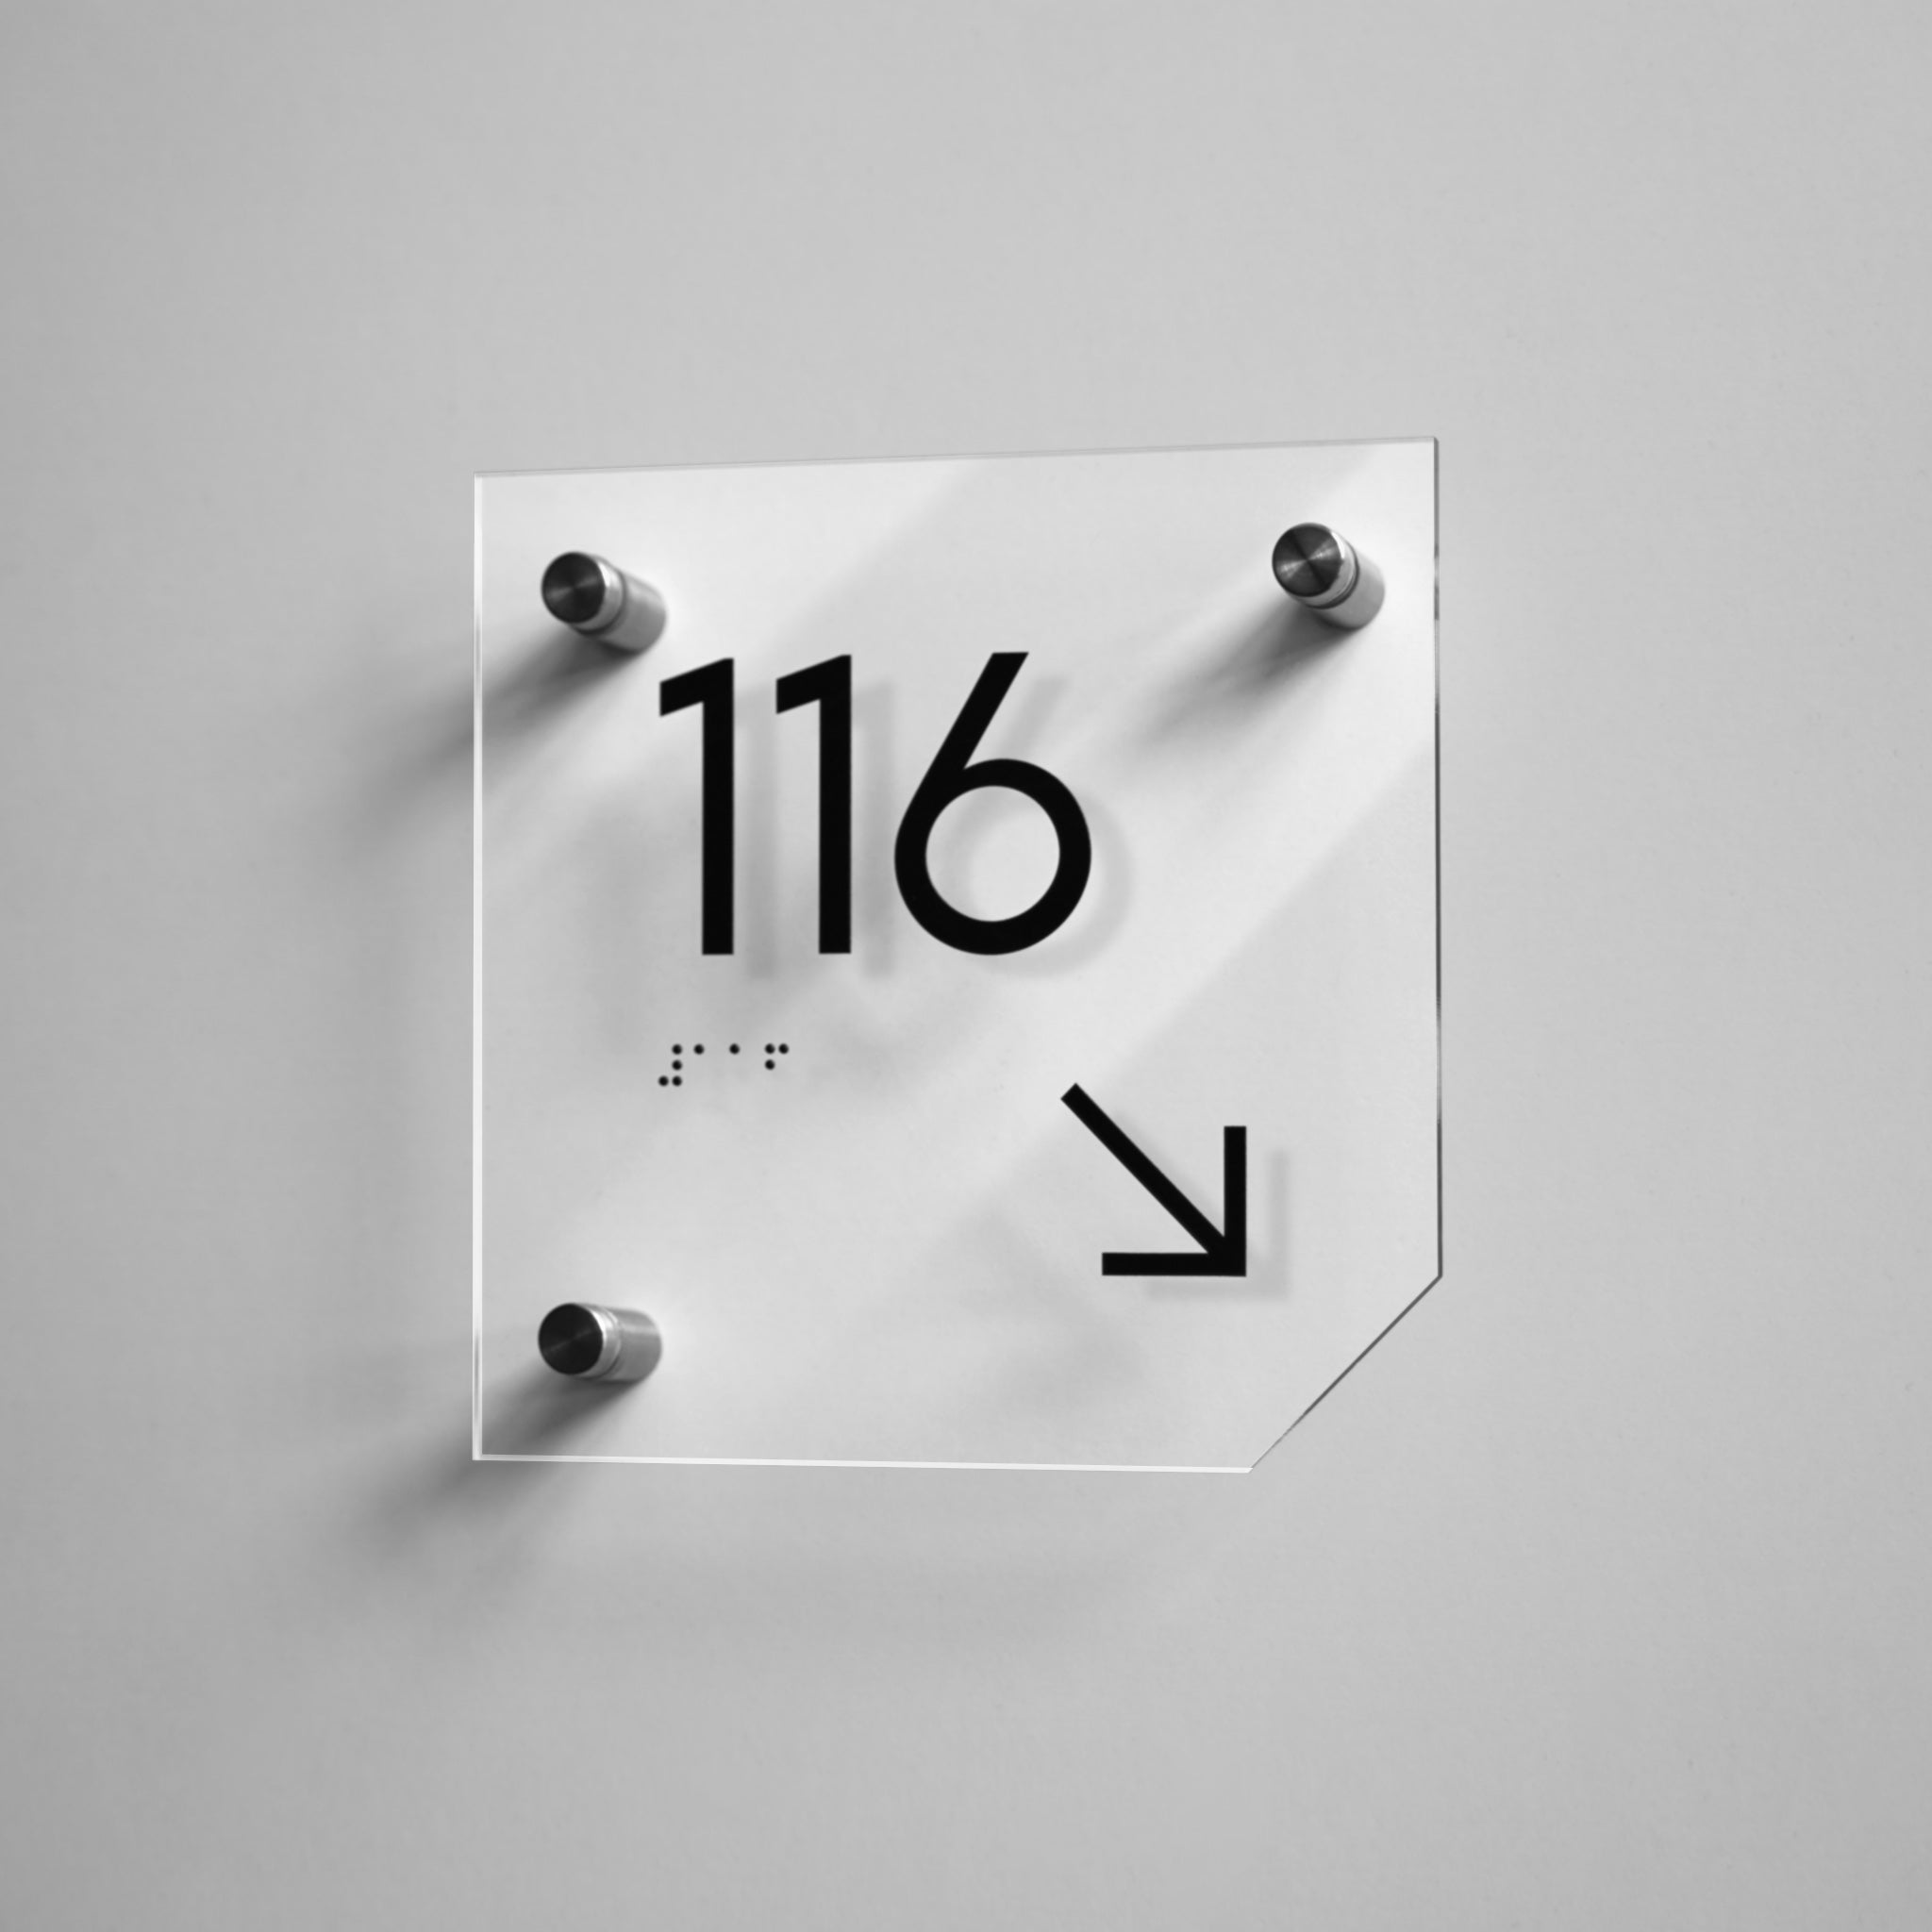
Metal Standoff Screws
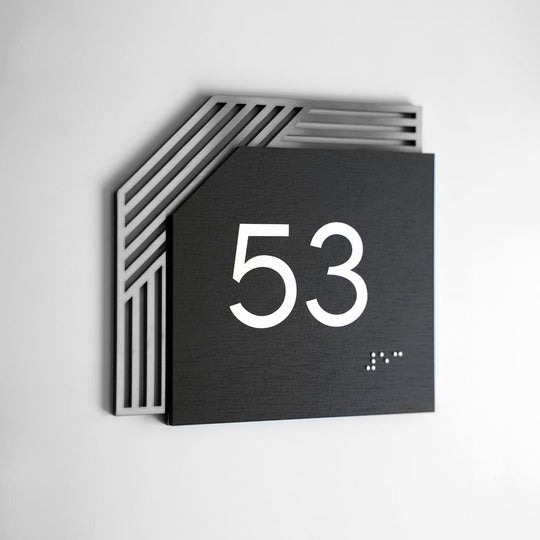
Metal standoff screws are used when a stronger mechanical fixing is needed or when the design requires a more architectural “floating” effect. With this method, the sign is mounted slightly away from the wall, often around 20 mm, using decorative metal holders. The sign appears to float in front of the surface, which gives it a premium and professional look.
This mounting method is recommended for textured, uneven, porous, or rough surfaces such as brick, stone, stucco, decorative plaster, textured wallpaper, or outdoor walls. It is also a safer choice for larger, heavier, or more rigid signs. Bsign documentation notes that orders requiring screws may include metal standoffs, screws, wall anchors, and decorative caps.
Installation with standoffs requires drilling. Usually, you mark the hole positions, drill into the wall, insert anchors, screw the standoff bases into place, position the sign, and secure it with the front caps. If your sign is supplied with standoffs, the holes are prepared in advance and the necessary hardware is included.
Standoffs are also part of the visual design of some signs. For example, clear acrylic plaques often look better with metal holders because the hardware becomes part of the clean, professional appearance.
Mounting Templates for Separate Letters or Complex Layouts
Some signs are made from separate letters, numbers, icons, or individual acrylic or metal elements. In these cases, correct spacing is very important. To make installation easier, Bsign may provide a paper mounting template. The template shows exactly where each element should be placed, helping you keep the layout straight, balanced, and aligned.
This is especially helpful for company names, individual room numbers, wall lettering, or multi-part wayfinding signs. Instead of measuring each piece separately, you can use the template as a guide, attach the elements, and then remove the paper.
Can I Change the Mounting Option?
In many cases, yes. Each Bsign product comes with the mounting method that works best for its design, but we can often adjust the fixing option if your project requires it.
For example, if a sign normally comes with adhesive tape but you need to install it on a textured wall, we may be able to add holes for screws or suggest standoffs. If a sign usually comes with standoffs but you cannot drill into the wall, we may be able to discuss an adhesive option, depending on the material and appearance. However, this is not always possible. For clear acrylic signs, visible tape may affect the final look, so standoffs may remain the better solution.
The best time to request a different mounting option is before production begins. Please mention your installation surface, whether drilling is allowed, whether the sign will be indoors or outdoors, and whether it may need to be moved later.
Which Mounting Method Should You Choose?
Choose adhesive tape if your sign will be installed indoors on a smooth, clean, flat surface and you want fast installation without tools. Choose metal standoffs or screws if the surface is rough, textured, outdoor, uneven, or if the sign is large, heavy, or needs a floating effect.
If you are not sure which option is best, send us a photo of the wall, door, or surface where the sign will be installed. Our team will help you choose the safest and most attractive mounting method for your specific sign.


