











by Oleh Tomilenko
ADA Sign Mounting Height and Placement Requirements
Under the 2010 ADA Standards, tactile signs must be mounted between 48 and 60 inches above the finished floor. At a single door, they are generally installed on the wall at the latch side, with an unobstructed 18 × 18-inch clear floor space outside the door swing.
A properly manufactured ADA sign may still fail to meet accessibility requirements if it is installed at the wrong height or in the wrong location. Measurement points, door configurations, and clear floor space all affect compliance.
This guide explains the federal ADA sign height requirements and placement rules for architects, interior designers, contractors, installers, and facility managers. For a broader overview of sign design, materials, contrast, raised characters, and Braille, see our complete guide to ADA-compliant door signs.
Key Takeaways
-
Measure to the tactile-character baselines: the lowest must be at least 48 inches above the finish floor or ground surface, and the highest no more than 60 inches.
-
At a single door, install the sign alongside the door on the latch side.
-
Provide an unobstructed 18 × 18-inch clear floor space outside the required door-swing area.
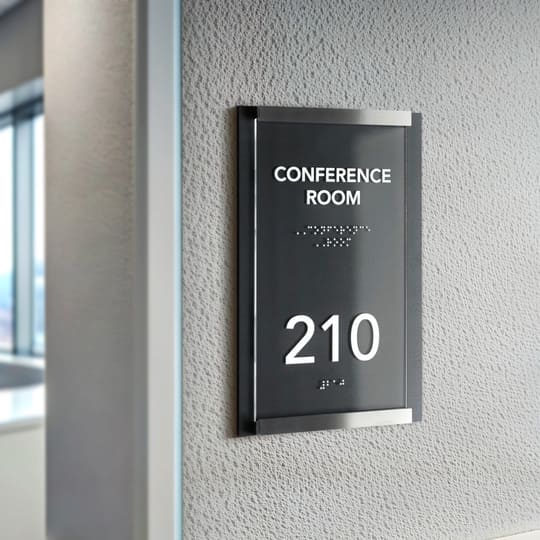
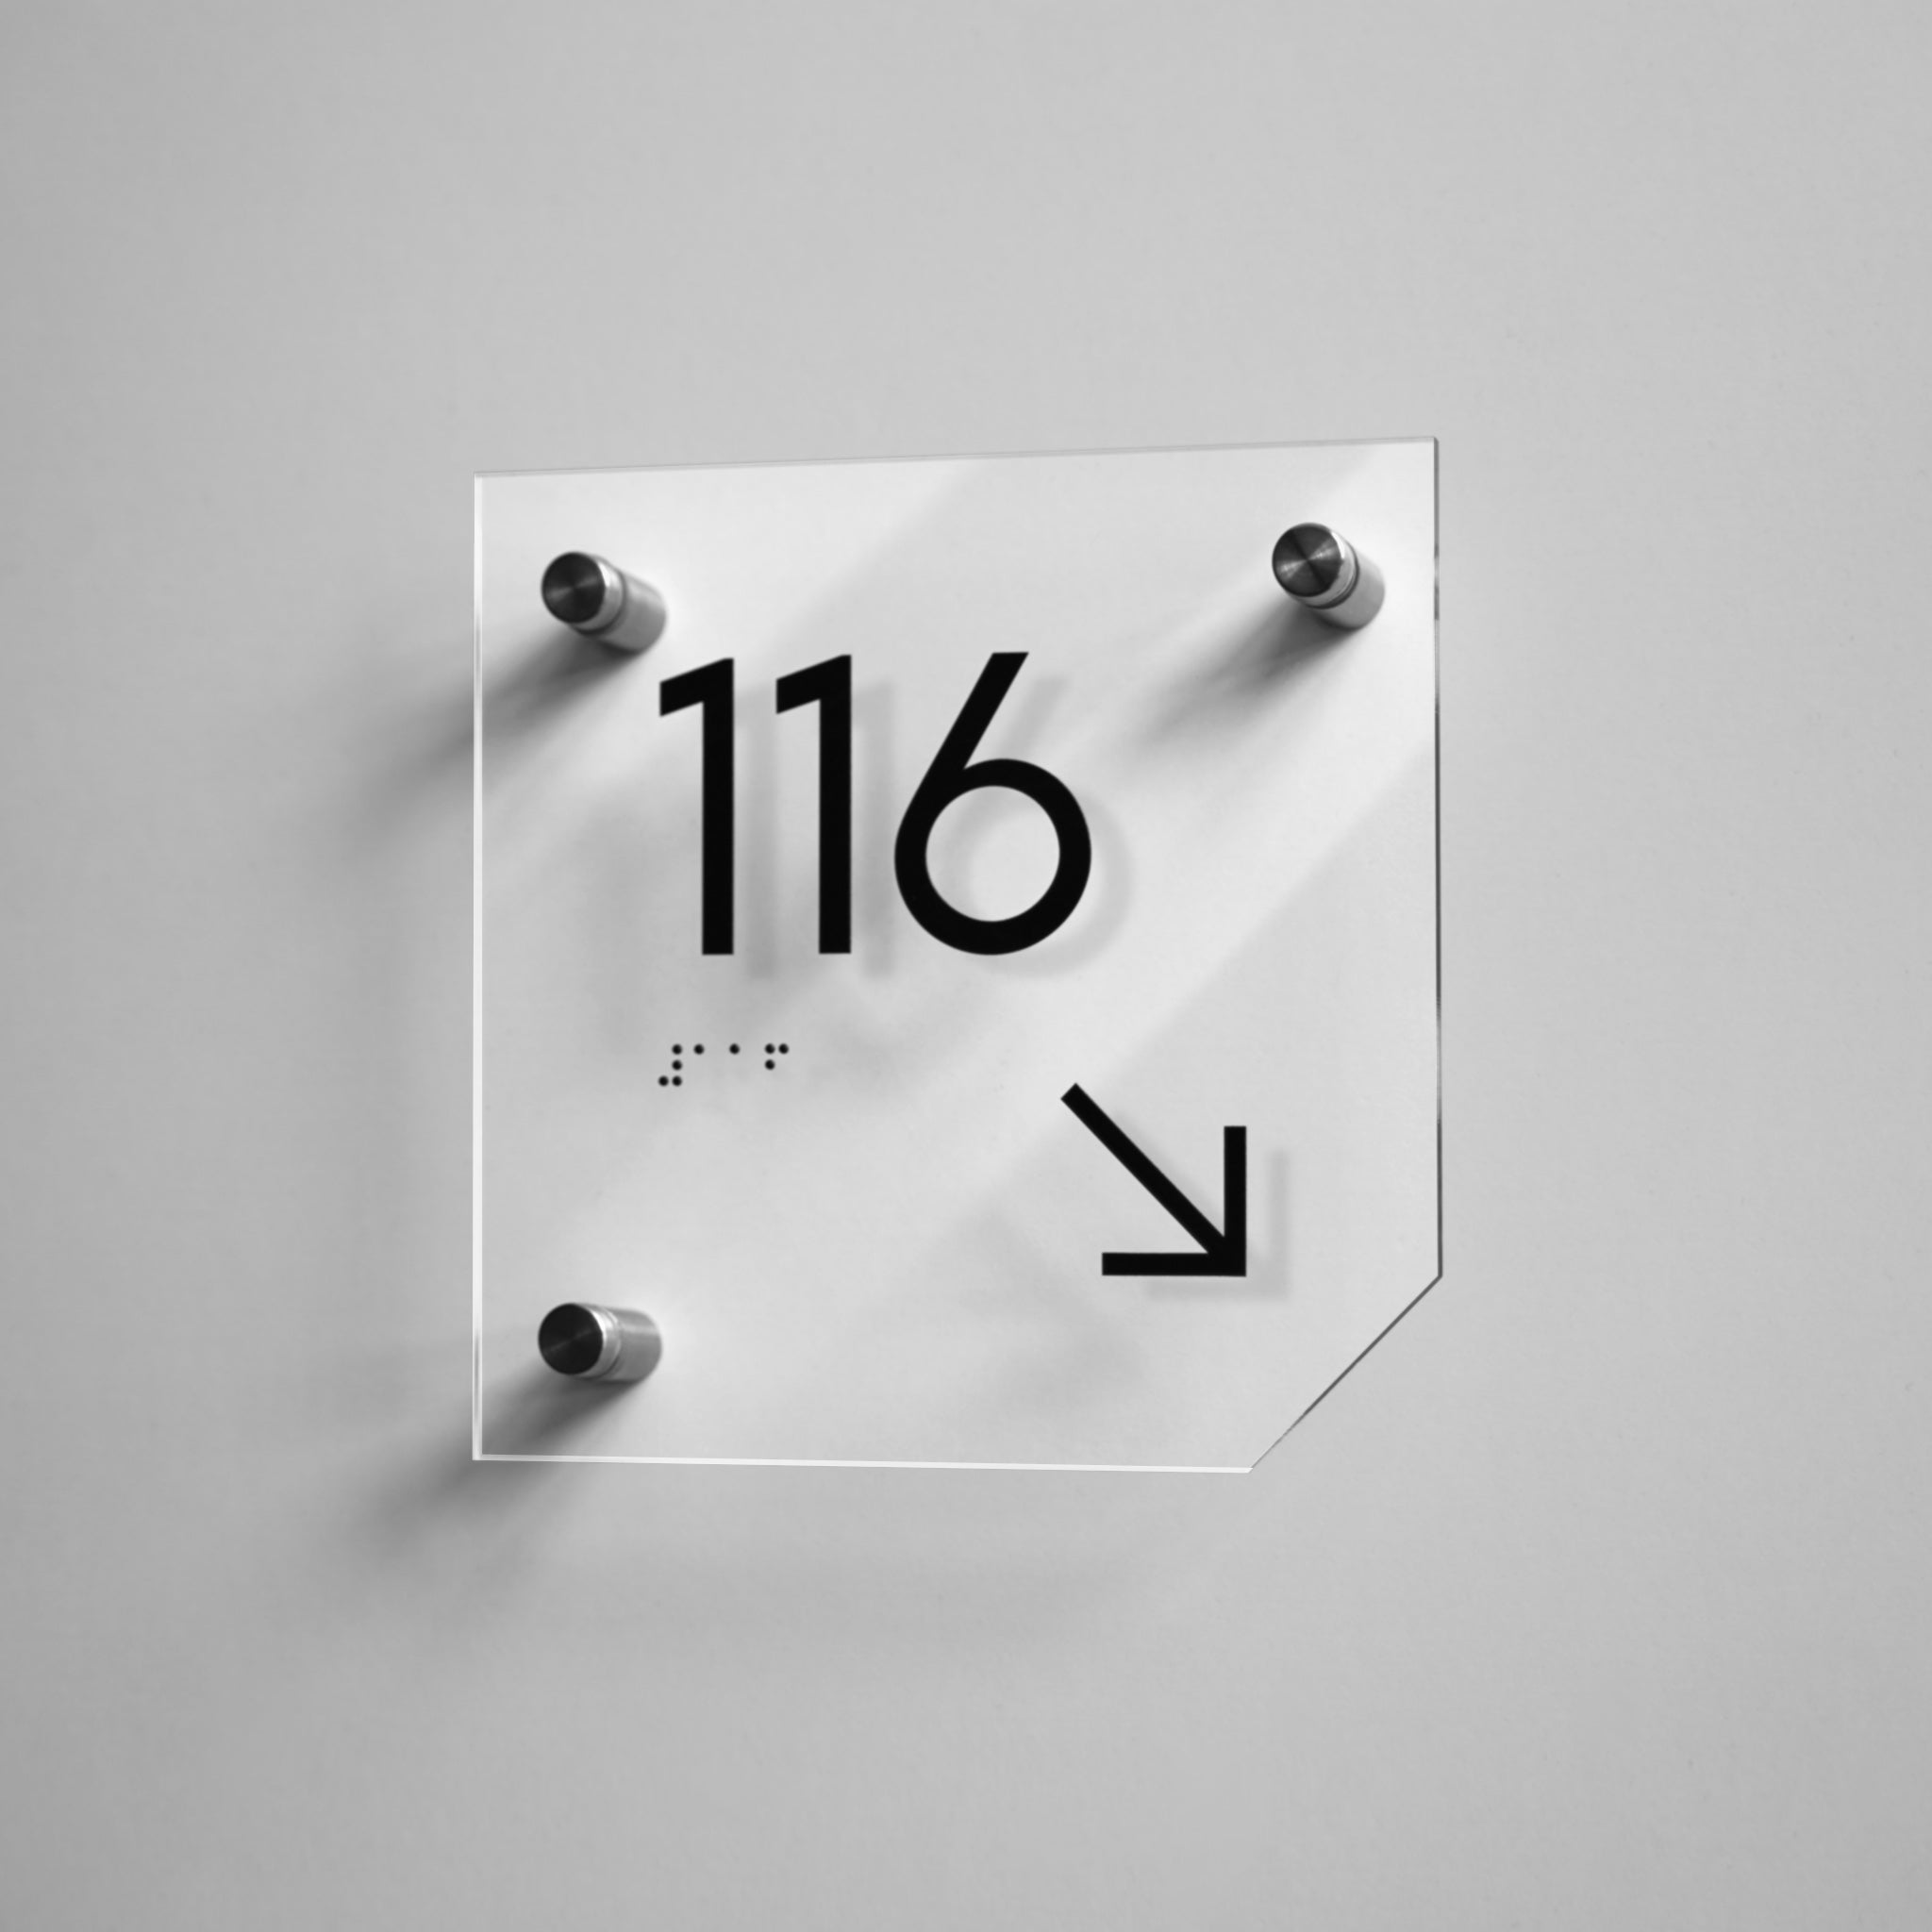
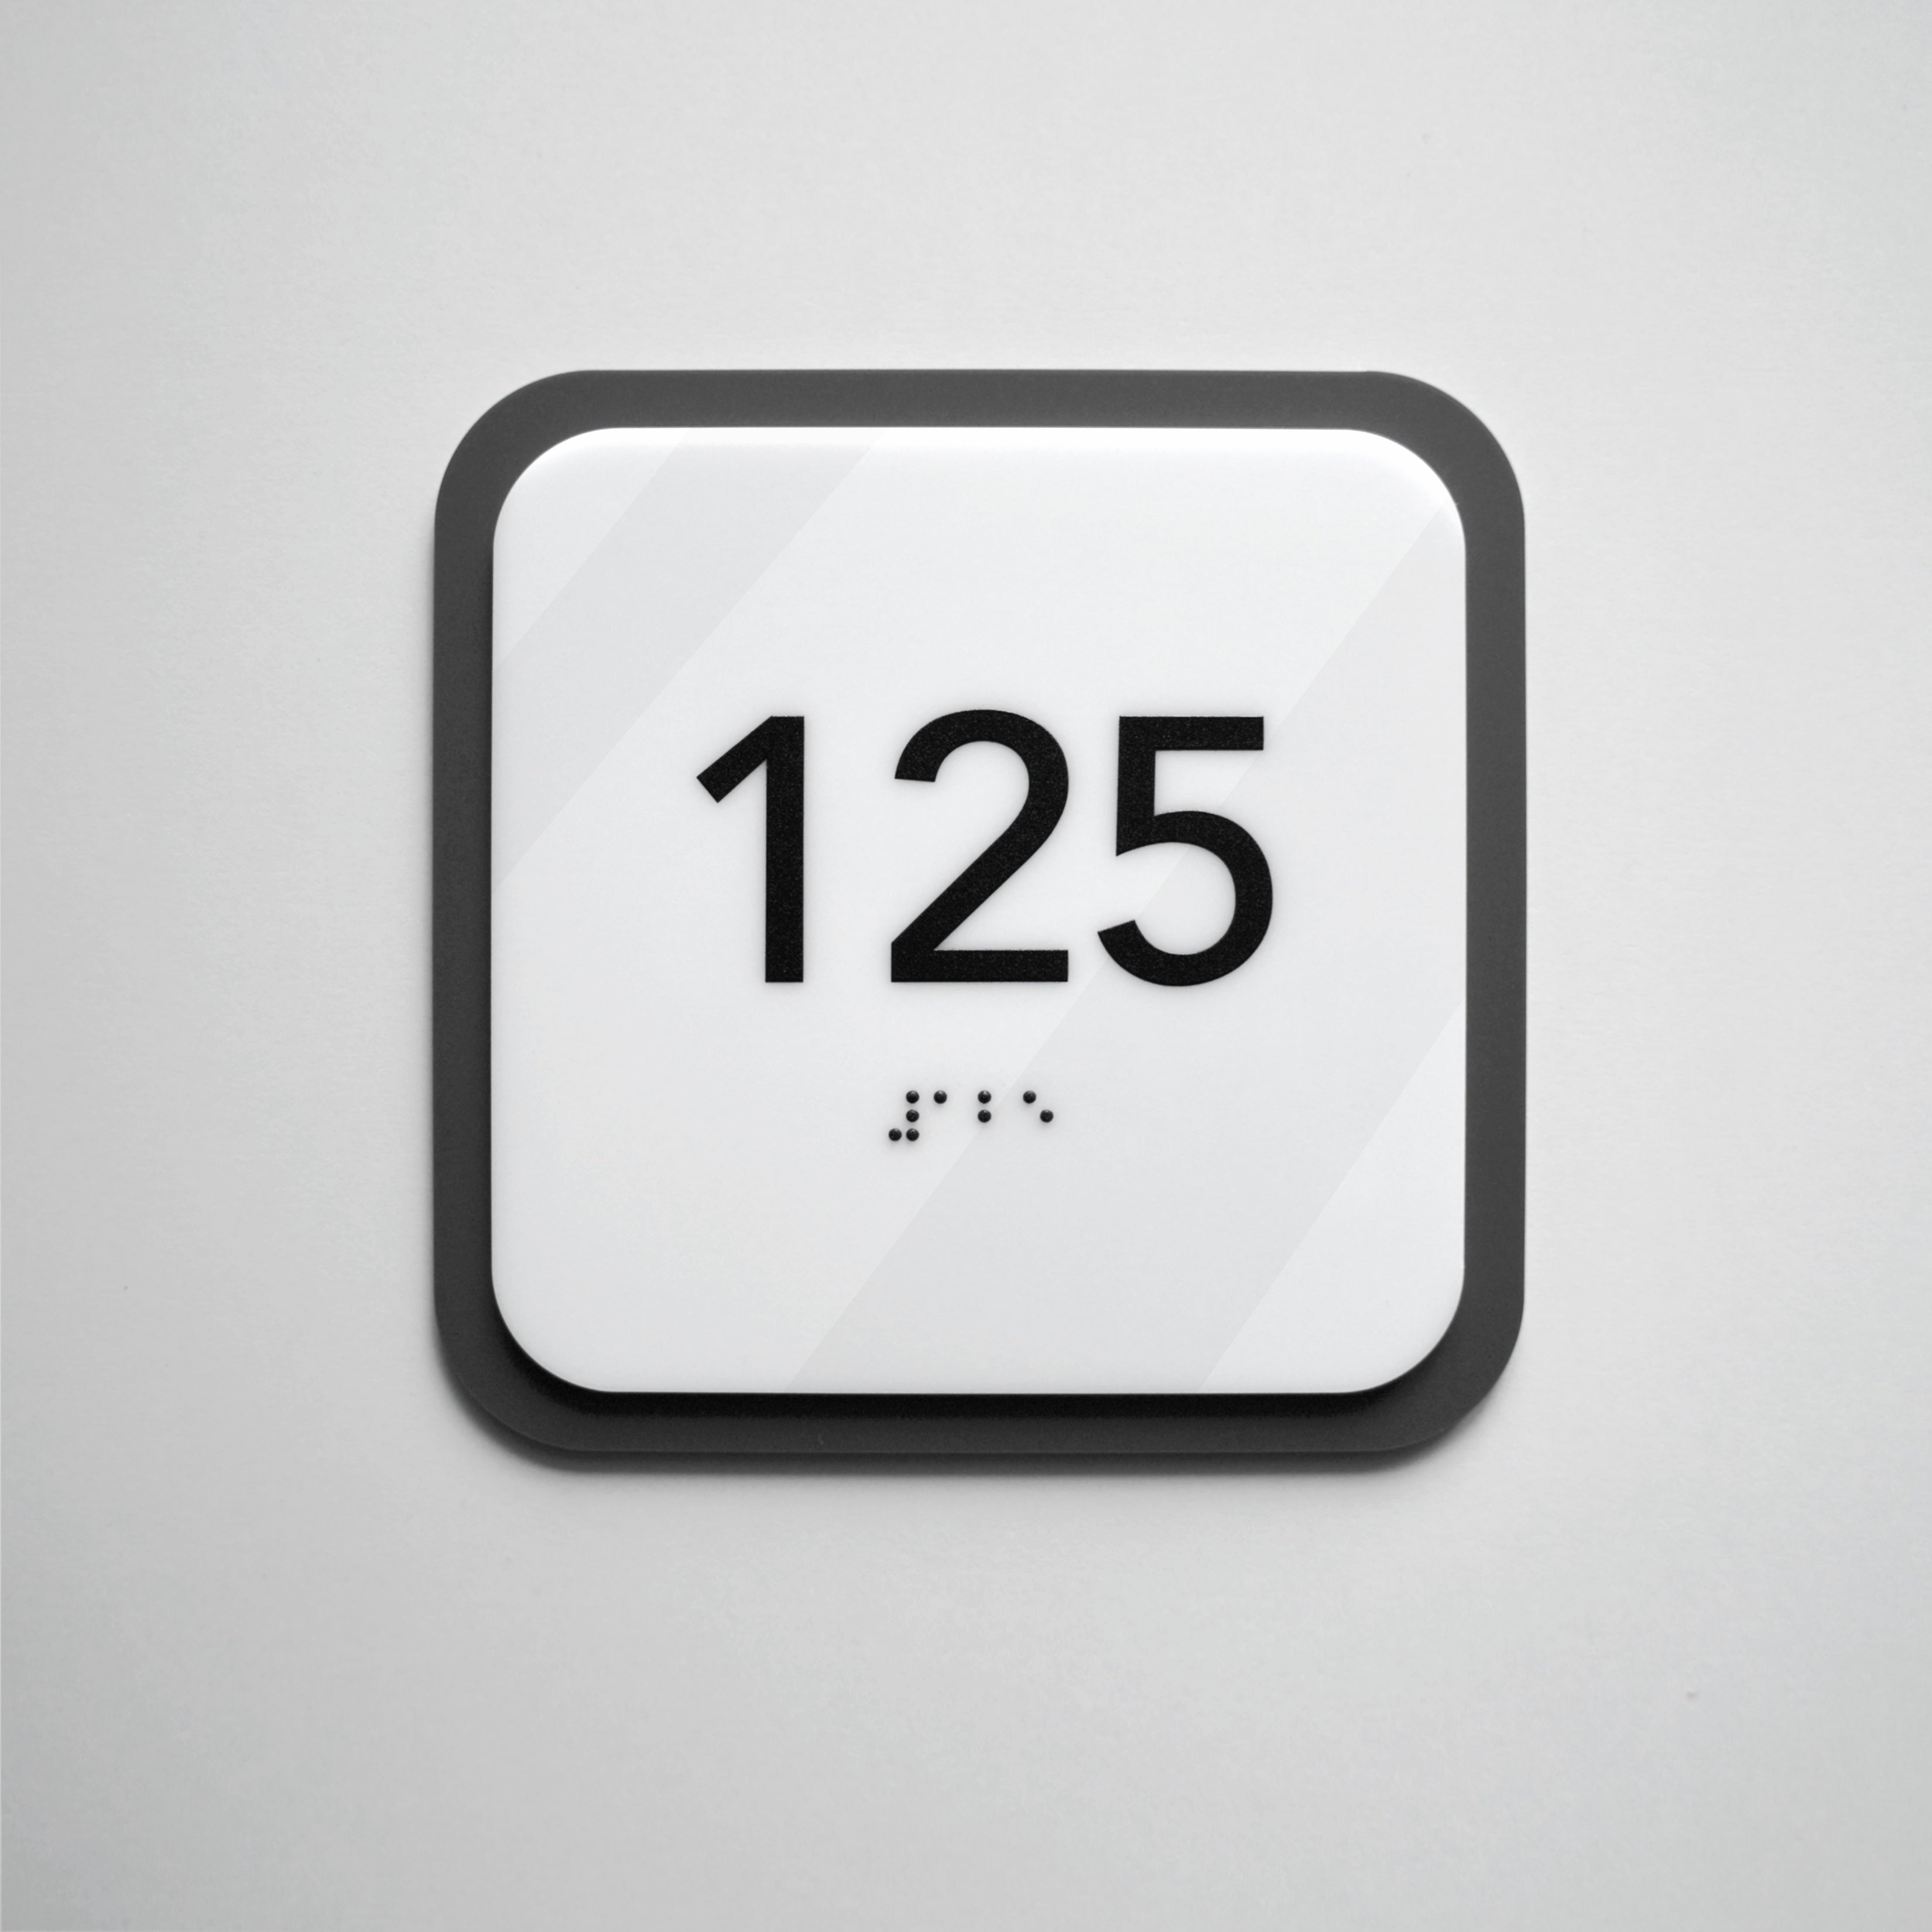
An example of a tactile guide with Braille for a service area, installed in accordance with current requirements for barrier-free navigation:

Which Signs These Rules Apply To
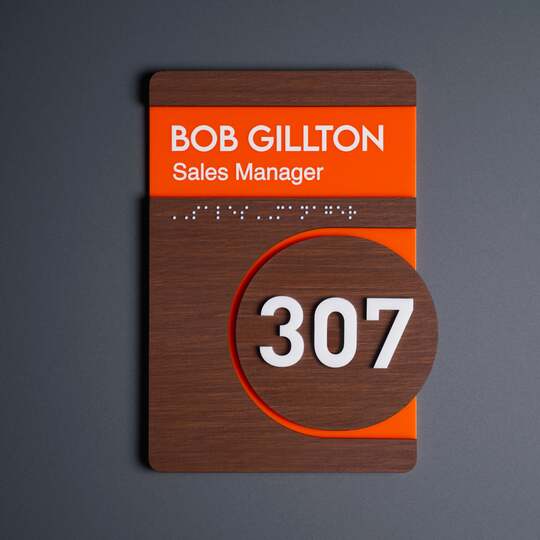
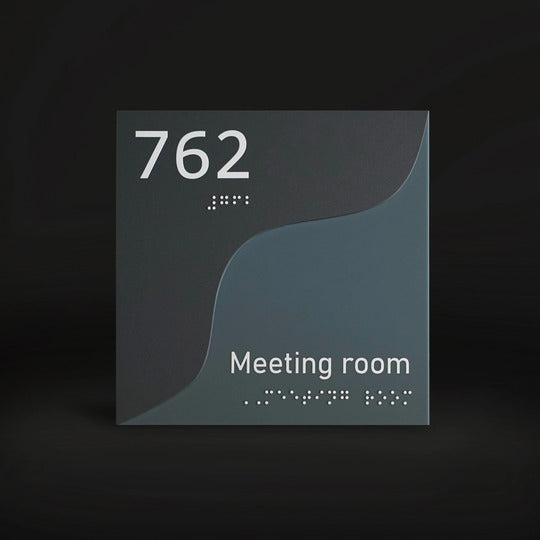
Under Section 216.3, signs that provide direction to or information about interior spaces and facilities must comply with the visual-character requirements in Section 703.5 and are not automatically required to include tactile characters. Common examples include room-number signs, restroom signs, stair-identification signs, and signs identifying permanent offices or service rooms. For examples of tactile room-identification products, see the ADA Braille signs collection.
Key fact: Tactile characters
Tactile characters are raised letters, numbers, and Grade 2 Braille that a person can read by touch. They are what Section 703.4's height and placement rules are measuring and positioning — not the sign panel itself.
Directional and informational signs generally follow the visual-character requirements in Section 703.5 and are not automatically required to include tactile characters.
Some signs are also exempt, including temporary signs displayed for seven days or less, as well as certain directories, occupant names, company names and logos, menus, and similar information, depending on their function and location.
|
Sign type |
Are tactile characters generally required? |
Does ADA 703.4 apply? |
Example |
|
Permanent room or space identification |
Yes |
Yes |
Room number, restroom, permanent office |
|
Directional or informational sign |
No; visual-character rules apply |
No, unless tactile characters are provided or otherwise required |
Directional arrow, information board |
|
Temporary sign displayed for seven days or less |
No |
No |
Temporary notice or event announcement |
For a detailed breakdown by room type, see which rooms require ADA signs. Information about character and Braille specifications is covered separately in our guide to Braille requirements for ADA signage.
ADA Sign Mounting Height Requirements
Section 703.4.1 establishes a mounting range for signs with tactile characters:
-
The baseline of the lowest tactile character must be at least 48 inches (1220 mm) above the finished floor or ground surface.
-
The baseline of the highest tactile character must be no more than 60 inches (1525 mm) above the finished floor or ground surface.
These are not measurements to the physical edges of the sign. Depending on its layout, a sign panel may extend below the 48-inch measurement point or above the 60-inch measurement point while the tactile characters remain within the permitted range.
The range also allows multiple signs in a building to share a consistent visual mounting line, provided that every tactile message remains within the required character-baseline limits.
Where Exactly to Measure From
The measurement begins at the finished floor directly below the sign.
The baseline is the imaginary line on which a character rests. For the minimum height, measure to the baseline of the lowest line of tactile characters. For the maximum height, measure to the baseline of the highest line.
Key fact: Baseline
The baseline is the reference line used to position a row of characters. ADA sign mounting height is not measured to the sign panel's lower edge, upper edge, or center.
This distinction is especially important for multi-line signs, since the 48-inch minimum and 60-inch maximum in Section 703.4.1 apply to the tactile character baselines rather than the sign panel. The height rule does not apply to tactile characters on elevator car controls (Section 703.4.1 Exception).
In California, CBC 11B-703.4 measures the minimum height to the baseline of the lowest Braille cells instead of the lowest tactile character, so California projects must comply with both CBC and federal ADA requirements.
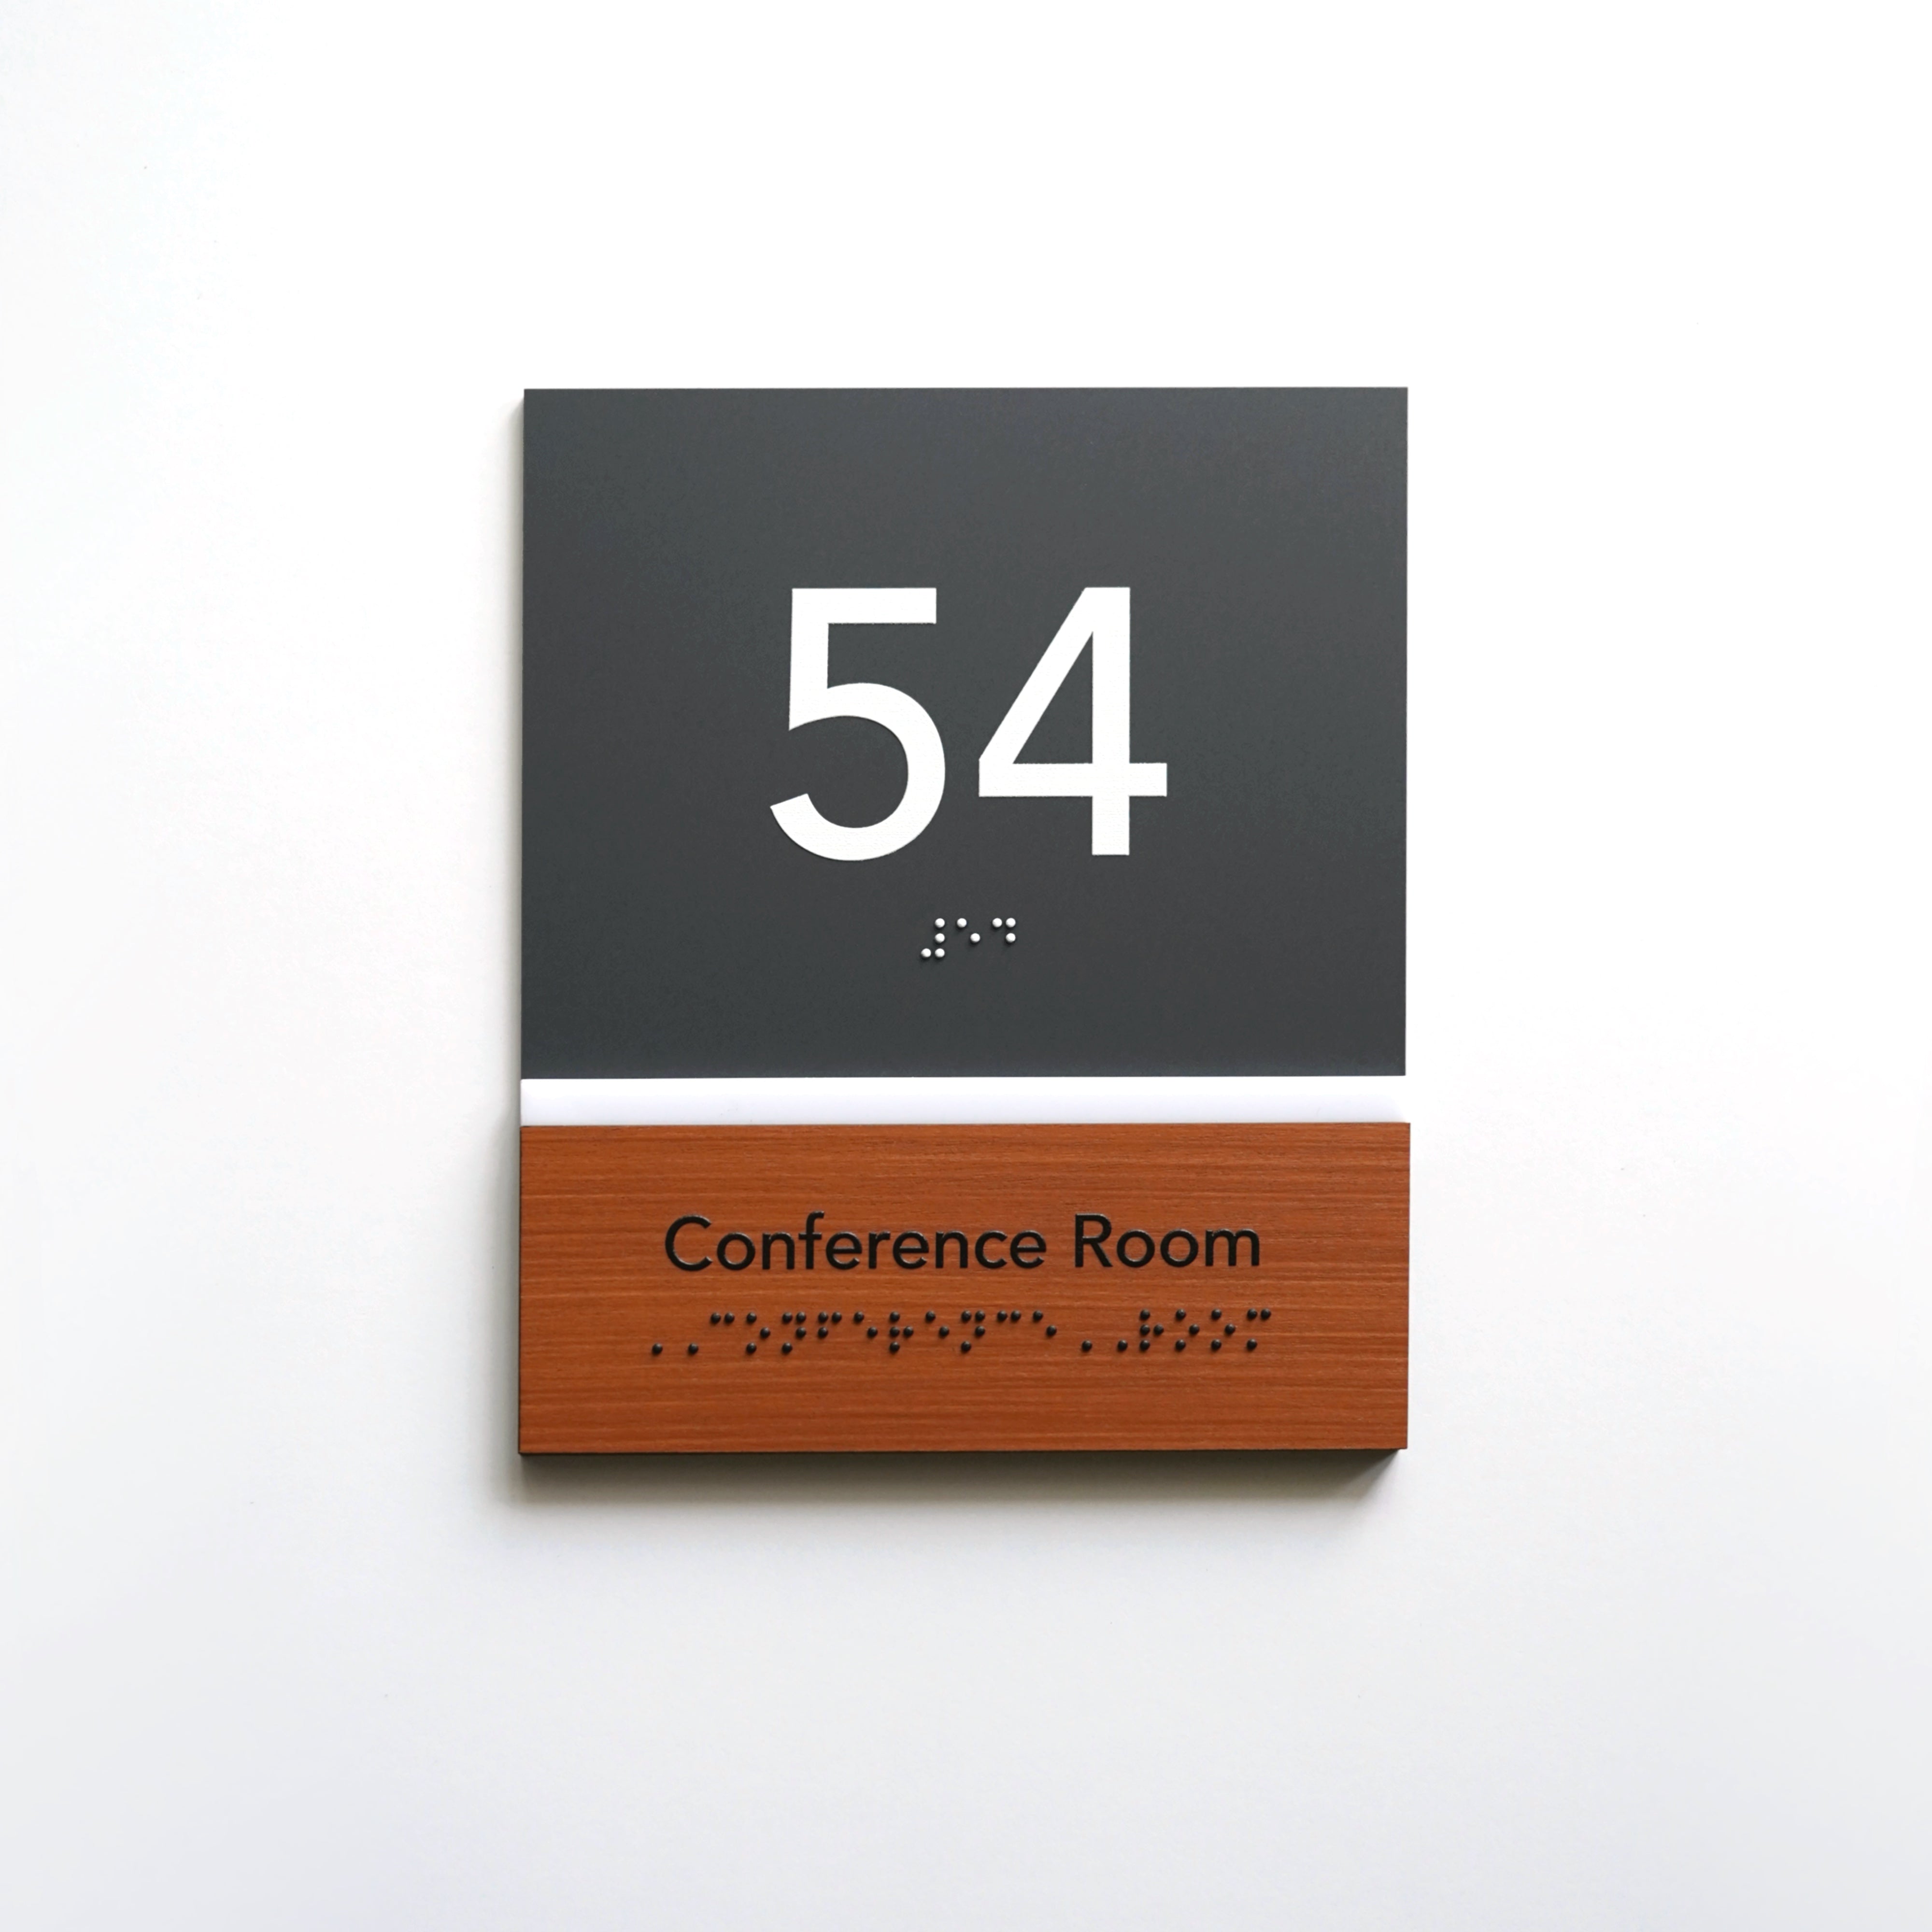
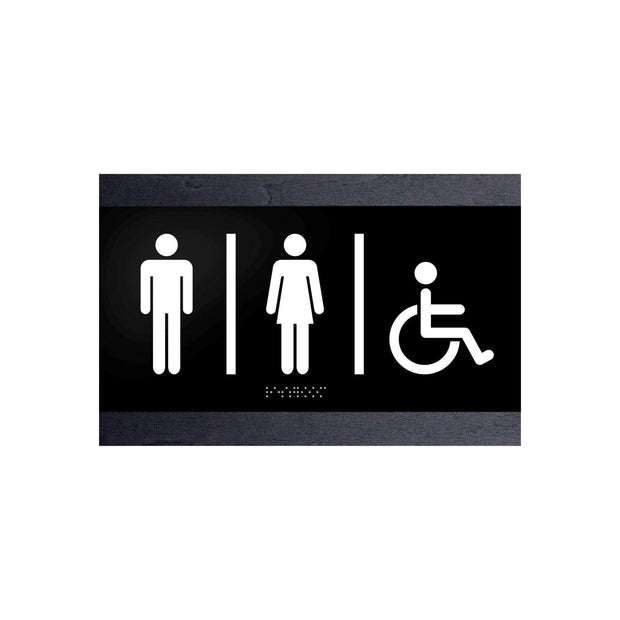
An example of a tactile sign for a toilet facility, which combines a legible design with accessible wayfinding in public buildings:
Where to Place the Sign at the Door
When a tactile sign is provided at a door, Section 703.4.2 generally requires it to be located alongside the door on the latch side. The latch side is the side where the handle, latch, and lock are located, opposite the hinges.
The standard does not establish a universal distance, such as a fixed number of inches from the trim. Instead, the sign's position must satisfy the required door-location and clear-floor-space rules.
Key fact: Latch side
The latch side is the side of the doorway where the door handle and locking hardware are located. It is opposite the hinge side.
For general non-ADA considerations such as visual alignment and consistency throughout an interior, see our guide to general door sign placement principles.
Single Doors
At a single door, mount the tactile sign on the wall alongside the door on the latch side. Do not automatically place it on the hinge side or above the doorway.
Before drilling or applying mounting tape, confirm that a person can approach the sign and read its tactile characters without standing within the restricted portion of the door swing.
Double Doors
Double doors require different placement depending on which leaves operate:
-
Where only one leaf is active, install the tactile sign on the inactive leaf.
-
Where both leaves are active, install the sign on the wall to the right of the right-hand door.
These rules are easy to miss when an installer applies the single-door latch-side rule to every opening.
No Wall Space at the Latch Side
If there is no wall space on the latch side of a single door, or in the required position at double doors, install the sign on the nearest adjacent wall. The mounting-height and clear-floor-space requirements still apply.
Glass partitions, sidelights, and vision panels require careful planning. U.S. Access Board guidance explains that a tactile sign may be mounted next to or on a vision panel or sidelight on the latch side if the required clear floor space is provided. Where the doorway is located in a glass partition, the sign generally must be mounted on that partition unless door mounting is permitted under the exception.
Clear Floor Space and Door Swing
A tactile sign must have a clear floor space of at least 18 × 18 inches (455 × 455 mm) centered on the tactile characters. This space must be located outside the arc of the door swing between the closed position and the 45-degree open position.
Key fact: Clear floor space
Clear floor space is the unobstructed area from which a person can approach and read the tactile sign. It must be centered on the tactile characters — not merely on the overall sign panel.
Furniture, trash cans, decorative planters, movable displays, and stored equipment should not block this area. The sign location should also be coordinated with door hardware and the direction in which the door opens.
Practical recommendation: Before making permanent mounting holes, mark the proposed sign position and the 18 × 18-inch area with removable tape. Open the door to 45 degrees and confirm that the required space remains outside the door swing. This is an installation technique, not a separate ADA requirement.

Can a Sign Be Mounted on the Door Itself?
ADA standards permit door mounting only in a limited situation. A tactile sign may be installed on the push side of a door when the door:
-
has a closer;
-
does not have a hold-open device.
A door closer returns the door to its closed position after use. A hold-open device keeps it open mechanically or automatically. A doorstop or other object used to prop the door open may create the same practical accessibility problem, even if it is not permanent hardware.
Outside this exception, the tactile sign should be installed alongside the door in the location required for the applicable door configuration.
ADA Sign Mounting Requirements at a Glance
|
Parameter |
Requirement |
How to measure or position it |
Applies to |
ADA section |
|
Minimum mounting height |
48 in (1220 mm) |
Finished floor to the baseline of the lowest tactile character |
Signs with tactile characters |
703.4.1 |
|
Maximum mounting height |
60 in (1525 mm) |
Finished floor to the baseline of the highest tactile character |
Signs with tactile characters |
703.4.1 |
|
Location at a single door |
Latch side |
On the wall alongside the door, on the handle and latch side |
Tactile signs at doors |
703.4.2 |
|
Clear floor space |
At least 18 × 18 in (455 × 455 mm) |
Centered on the tactile characters and outside the door swing from closed to 45 degrees open |
Signs with tactile characters at doors |
703.4.2 |
|
Elevator car control exception |
Section 703.4.1 height range does not apply |
Follow the provisions governing elevator controls |
Tactile characters on elevator car controls |
703.4.1 Exception |
Placement by Door Configuration
|
Door configuration |
Where to place the sign |
What to avoid |
ADA requirement |
|
Single door |
On the wall alongside the door on the latch side |
Hinge-side or above-door placement |
703.4.2 |
|
Double doors with one active leaf |
On the inactive leaf |
Mounting on the active leaf without meeting the door exception |
703.4.2 |
|
Double doors with two active leaves |
On the wall to the right of the right-hand door |
Applying the single-door rule without considering both active leaves |
703.4.2 |
|
No wall space in the required location |
On the nearest adjacent wall |
Omitting the sign or choosing an unrelated location |
703.4.2 |
|
Sign mounted directly on a door |
Push side only, where the door has a closer and no hold-open device |
Door mounting under any other condition |
703.4.2 Exception |
Differences by Building Type
Federal ADA mounting and placement rules remain the same across covered facility types, but installation conditions may differ. Offices and hotels require coordination with repeated room signs, locks, access systems, and wall finishes; healthcare facilities may have equipment near doorways; schools often replace signs during renovations; and residential common areas may require tactile identification where the ADA applies. State, local, and housing-specific requirements should be checked separately. For more context, see our guide to ADA signage in hotels.

Common Installation Mistakes
- Measuring the 48- or 60-inch limits to the sign panel instead of the applicable tactile-character baselines.
- Installing a single-door sign on the hinge side rather than the latch side.
- Applying the single-door rule to double doors without identifying the active and inactive leaves.
- Blocking the required 18 × 18-inch clear floor space with furniture or equipment.
- Locating the tactile reading area within the restricted door-swing arc.
- Mounting a sign directly on a door that does not meet the closer and hold-open-device exception.

Pre-Installation Checklist
-
Confirm that the sign identifies a permanent room or space and requires tactile characters.
-
Check the current federal ADA Standards and applicable state or local codes.
-
Identify the baseline of the lowest and highest tactile characters.
-
Verify that the sign meets the required mounting height.
-
Determine the latch side or applicable double-door configuration.
-
Provide an 18 × 18-inch clear floor space centered on the tactile characters.
-
Confirm that the clear space remains outside the door swing from closed to 45 degrees open.
-
Use door mounting only when every condition of the Section 703.4.2 exception is met.
Where to Verify Current Requirements
The official technical requirements are published in Chapter 7 of the 2010 ADA Standards for Accessible Design. The U.S. Access Board also provides explanatory guidance on signs, covering tactile signs, mounting locations, vision panels, glass partitions, door closers, and hold-open devices. General program information is available on ADA.gov.
This article explains federal ADA requirements. States and local jurisdictions may impose additional or more specific rules — California CBC 11B, for example, uses a different minimum-height measurement point. Always verify the current regulations that apply to the project's location before manufacturing or installing signs.
BSign produces tactile room, restroom, exit, and accessibility signage for commercial and public interiors. Explore the available ADA-compliant signs when planning a new signage system or replacing existing signs.
Frequently Asked Questions
What is the required mounting height for an ADA sign?
Under ADA Section 703.4.1, the baseline of the lowest tactile character must be at least 48 inches above the finished floor. The baseline of the highest tactile character must be no more than 60 inches above the finished floor. The dimensions are measured to the characters, not to the sign panel's edges.
Where should an ADA sign be mounted next to a door?
At a single door, a tactile sign is generally mounted on the wall alongside the door on the latch side — the side with the handle and locking hardware. If there is no wall space in the required location, Section 703.4.2 directs placement to the nearest adjacent wall.
Is the mounting height measured from the floor to the sign?
Not exactly. Under ADA Section 703.4.1, mounting height is measured from the finished floor to the baselines of the tactile characters. The 48-inch minimum applies to the lowest tactile-character baseline, and the 60-inch maximum applies to the highest tactile-character baseline — not to the sign's bottom or top edge.
Can an ADA sign be mounted directly on a door?
A tactile sign may be mounted on the push side of a door only when the door has a closer and does not have a hold-open device. This is an exception under ADA Section 703.4.2. In other situations, the sign should be mounted alongside the doorway in the required location.
Which side of the door should an ADA sign be installed on?
For a single door, install the tactile sign on the latch side, where the handle, latch, and lock are located. Double doors follow separate rules: use the inactive leaf when only one leaf operates, or the wall to the right of the right-hand door when both leaves are active.
What if there is not enough wall space on the latch side?
When the required latch-side location has no usable wall space, ADA Section 703.4.2 permits the tactile sign to be installed on the nearest adjacent wall. The sign must still meet the tactile-character height limits and provide the required clear floor space outside the restricted door-swing area.
Do directional signs follow the same mounting rules?
Not generally. ADA Section 703.4 governs the installation of signs with tactile characters. Directional and informational signs are generally subject to the visual-character requirements in Section 703.5 and are not automatically required to include raised characters or Braille.
Are placement rules the same in offices, hotels, and healthcare facilities?
The federal ADA mounting and placement requirements remain the same across covered facility types. Practical conditions may differ because of door hardware, furniture, medical equipment, or operating procedures. State and local building codes may also add requirements, so each project should be reviewed for its specific jurisdiction.
Sources
-
U.S. Access Board — 2010 ADA Standards for Accessible Design, Chapter 7
-
U.S. Access Board — Guide to the ADA Standards, Chapter 7: Signs
-
Corada — 2025 CBC, 11B-703.4 Installation Height and Location (California)
Sources verified as of July 2026. Always confirm the current edition of the standards and applicable local codes before installation.


